
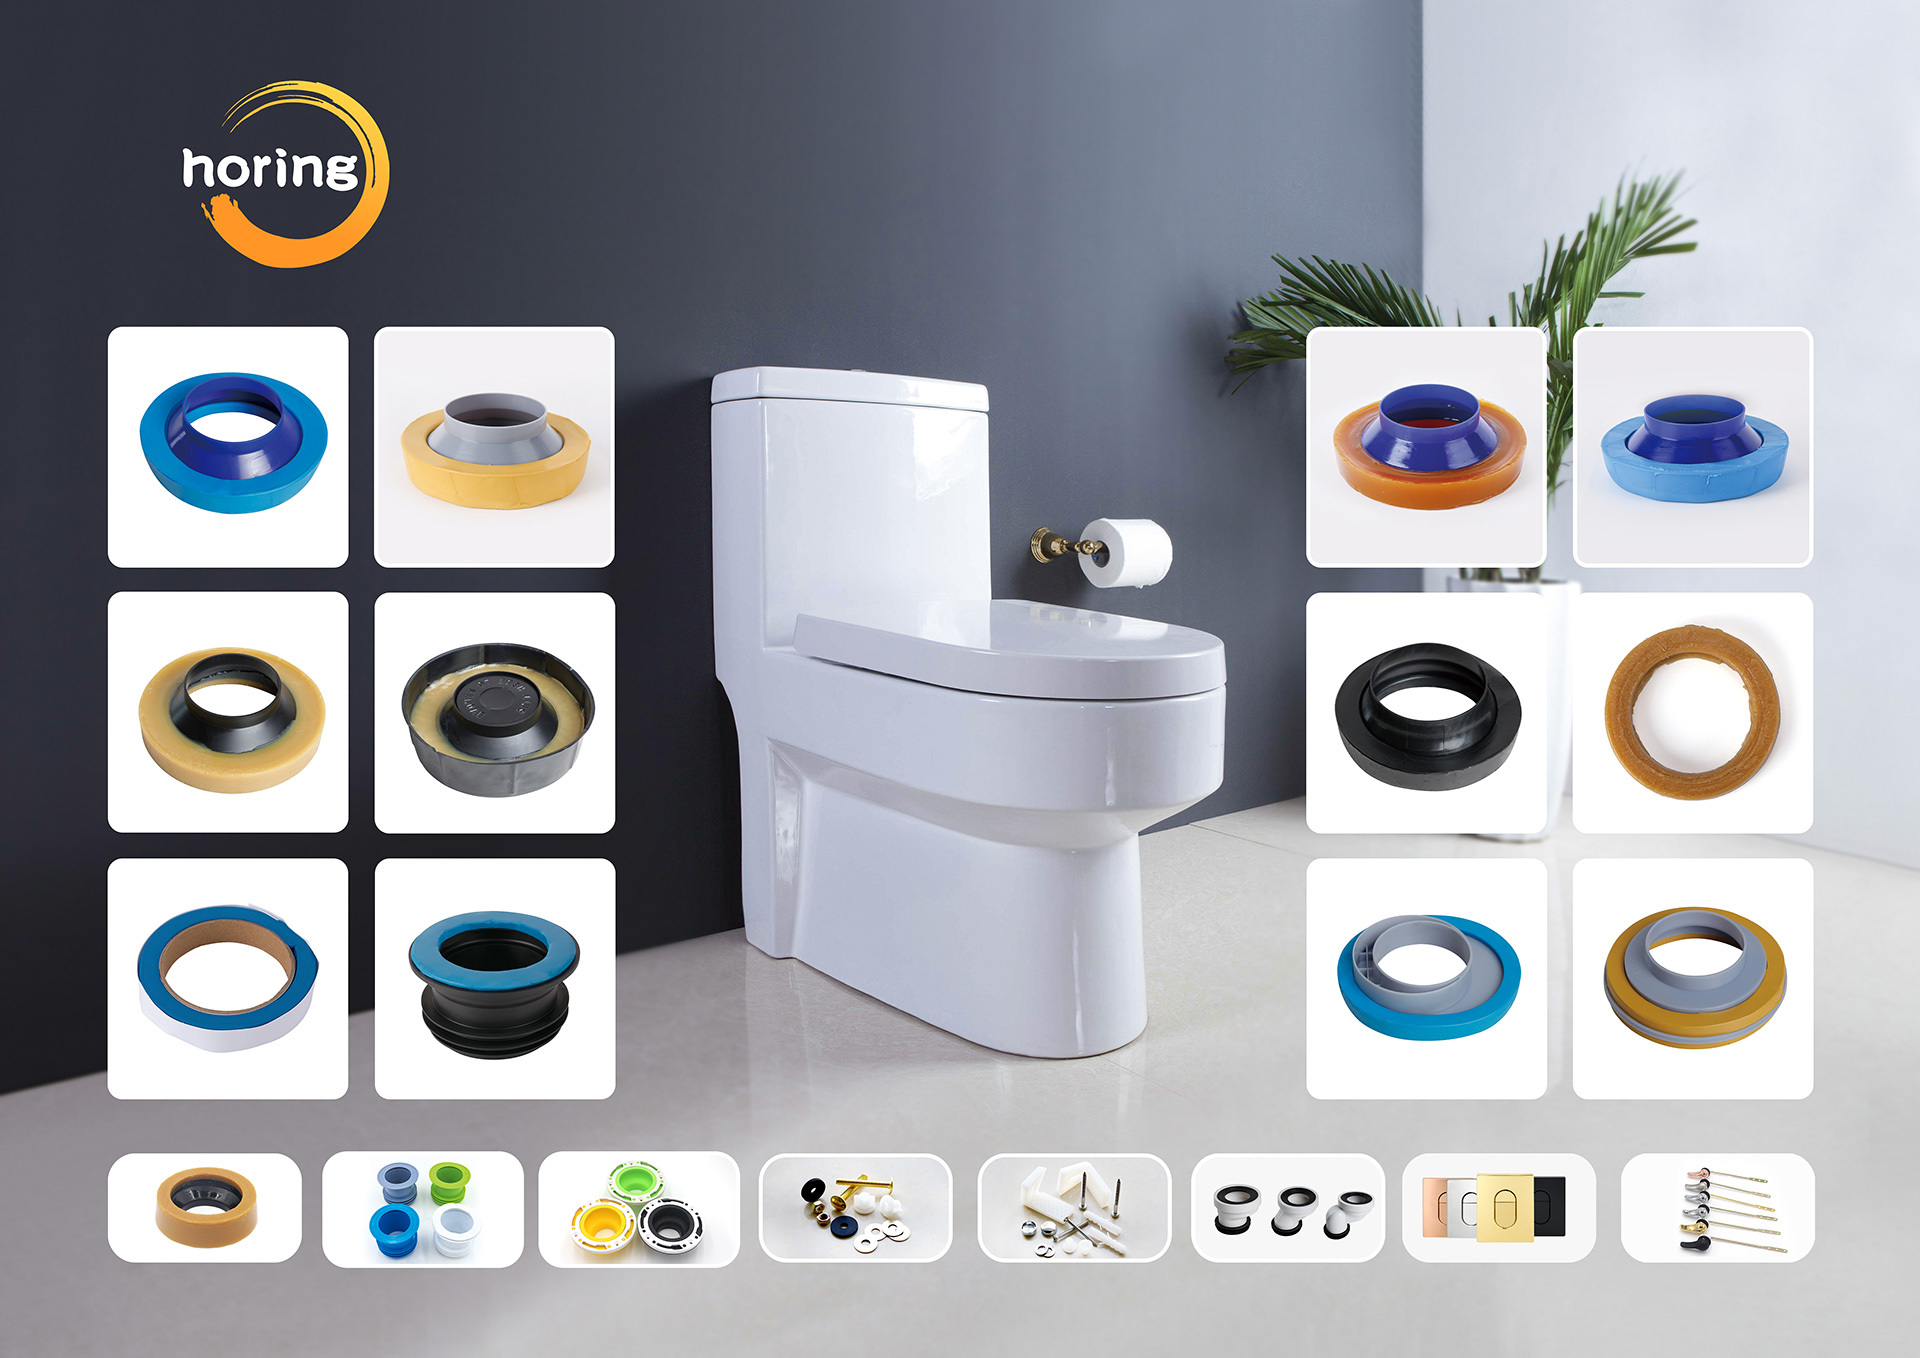

Unlocking the Benefits of Toilet Tank Rubber Foam: Why You Need It
Release Time:
Jan 29,2025
Source:
Unlocking the Benefits of Toilet Tank Rubber Foam: Why You Need It
Table of Contents
- Introduction to Toilet Tank Rubber Foam
- What is Toilet Tank Rubber Foam?
- Key Benefits of Using Toilet Tank Rubber Foam
- Improving Water Efficiency
- Noise Reduction Advantages
- Prolonged Lifespan of Toilet Components
- Cost-Effectiveness of Rubber Foam
- How to Install Toilet Tank Rubber Foam
- Maintaining Your Toilet Tank Rubber Foam
- Common Issues and Troubleshooting
- Conclusion
- FAQs about Toilet Tank Rubber Foam
Introduction to Toilet Tank Rubber Foam
In the realm of plumbing and bathroom fixtures, **toilet tank rubber foam** may seem like a small component, yet it plays a pivotal role in the overall efficiency and functionality of your toilet. As households strive for sustainability and cost savings, understanding the benefits of this material becomes ever more consequential. This article delves into what toilet tank rubber foam is, its multifaceted advantages, and how it can enhance your bathroom experience.
What is Toilet Tank Rubber Foam?
Toilet tank rubber foam is a specialized insulation material designed to line the interior of the toilet tank. Made from a high-quality rubber compound, this foam helps maintain water temperature, reduce noise, and prevent moisture condensation. By providing a barrier between the cold tank water and the warm air of the bathroom, it effectively mitigates the risk of moisture issues, thereby contributing to a cleaner and more efficient bathroom environment.
Key Benefits of Using Toilet Tank Rubber Foam
Choosing to install toilet tank rubber foam comes with a plethora of benefits that extend beyond simple insulation. Below are some of the most significant advantages that this humble material brings to your plumbing system.
Improving Water Efficiency
One of the leading advantages of toilet tank rubber foam is its capability to enhance water efficiency. By keeping the water in the tank at a consistent temperature, the foam helps to minimize the need for additional flushing. This can result in reduced water consumption, which is not only beneficial for the environment but also leads to lower water bills.
Noise Reduction Advantages
Another compelling reason to consider toilet tank rubber foam is its noise reduction properties. Toilets can often produce disruptive sounds during flushing. The added cushioning of rubber foam absorbs sound vibrations, leading to quieter operation. This is particularly advantageous in households with children or in shared living spaces where noise levels can be a concern.
Prolonged Lifespan of Toilet Components
The durability of toilet components can significantly benefit from the installation of rubber foam. The insulation provided by the foam protects against thermal stress and moisture that can lead to rust and wear. As a result, parts such as the float valve and flush mechanism can have an extended life, reducing the frequency of repairs and replacements.
Cost-Effectiveness of Rubber Foam
Using toilet tank rubber foam is an investment in your bathroom's future. The initial cost of purchasing the foam is relatively low when compared to the long-term savings achieved through decreased water bills and reduced maintenance costs. Over time, this small investment pays off significantly, making it a wise choice for budget-conscious homeowners.
How to Install Toilet Tank Rubber Foam
Installing toilet tank rubber foam is a straightforward process that virtually any homeowner can manage with the right tools and instructions.
Tools Needed for Installation
Before beginning the installation, gather the following tools:
- Measuring tape
- Scissors or a utility knife
- Adhesive (if necessary)
- Cleaning cloth
Step-by-Step Installation Process
1. **Turn Off Water Supply**: Ensure that the water supply to the toilet is turned off to avoid any accidents.
2. **Drain the Toilet Tank**: Flush the toilet to empty the tank. Use a sponge to soak up any remaining water.
3. **Measure the Tank**: Use a measuring tape to determine the dimensions of the tank, noting any curves or unique shapes.
4. **Cut the Foam**: Using scissors or a utility knife, cut the rubber foam to fit the dimensions of your toilet tank. Be sure to leave openings for the flush valve and fill valve.
5. **Clean the Tank Surface**: Wipe down the inside of the tank with a cleaning cloth to remove any debris or moisture.
6. **Apply the Foam**: Position the rubber foam inside the tank, pressing it against the walls. If necessary, apply adhesive to keep it in place.
7. **Reassemble the Toilet**: Once the foam is secured, reattach any components you may have removed and turn the water supply back on.
Maintaining Your Toilet Tank Rubber Foam
Regular maintenance of your toilet tank rubber foam is essential to ensure its longevity and effectiveness. Here are some tips for proper upkeep:
- **Inspect for Wear**: Periodically check the foam for any signs of wear or damage, and replace it if necessary.
- **Clean Regularly**: Clean the inside of the toilet tank every few months to prevent buildup of minerals and bacteria.
- **Monitor Water Levels**: Observe the water levels in your tank to ensure that the foam is still functioning correctly.
Common Issues and Troubleshooting
While toilet tank rubber foam is generally reliable, some issues may occasionally arise:
- **Foam Detachment**: If the foam begins to peel off, check the adhesive and reapply as needed.
- **Moisture Accumulation**: If you notice moisture in the tank, inspect for leaks in the plumbing and ensure the foam is properly installed.
- **Noise Resurgence**: Should noise return, recheck the installation of the foam and ensure it is adequately absorbing sound.
Conclusion
Toilet tank rubber foam is a small yet impactful component that can significantly enhance the efficiency, durability, and comfort of your toilet system. By investing in this simple solution, homeowners can experience reduced water bills, quieter operation, and prolonged lifespan of toilet components. The ease of installation and minimal maintenance further cements rubber foam as an essential addition to any bathroom.
FAQs about Toilet Tank Rubber Foam
1. How often should I replace toilet tank rubber foam?
It is advisable to inspect the foam annually and replace it every 5-10 years, or sooner if you notice deterioration.
2. Can I use toilet tank rubber foam in older toilet models?
Yes, rubber foam can be used in older toilet models, but ensure that it is compatible and fits properly.
3. Does toilet tank rubber foam affect water pressure?
No, rubber foam does not affect water pressure; it primarily serves as insulation and sound absorption.
4. Is it difficult to install toilet tank rubber foam?
No, installation is straightforward and can typically be completed in under an hour with basic tools.
5. Can toilet tank rubber foam help with condensation issues?
Yes, it helps reduce condensation by insulating the tank, thereby preventing moisture buildup on the exterior.
Related News
Social Media

Contact Information
Add: No.28, Xinyuan Road, Jimei District, Xiamen, Fujian Province, China
Tel: 15960289358 (David)
Tel: 15980991191 (Bruce)
Email: Monica@horing-sanitary.com (Monica Lin)
Email: sales@horing-sanitary.com (David)
Email: sales1@horing-sanitary.com (Bruce)
All Rights Reserved © 2024 Xiamen Horing Sanitary Co.,Ltd .