
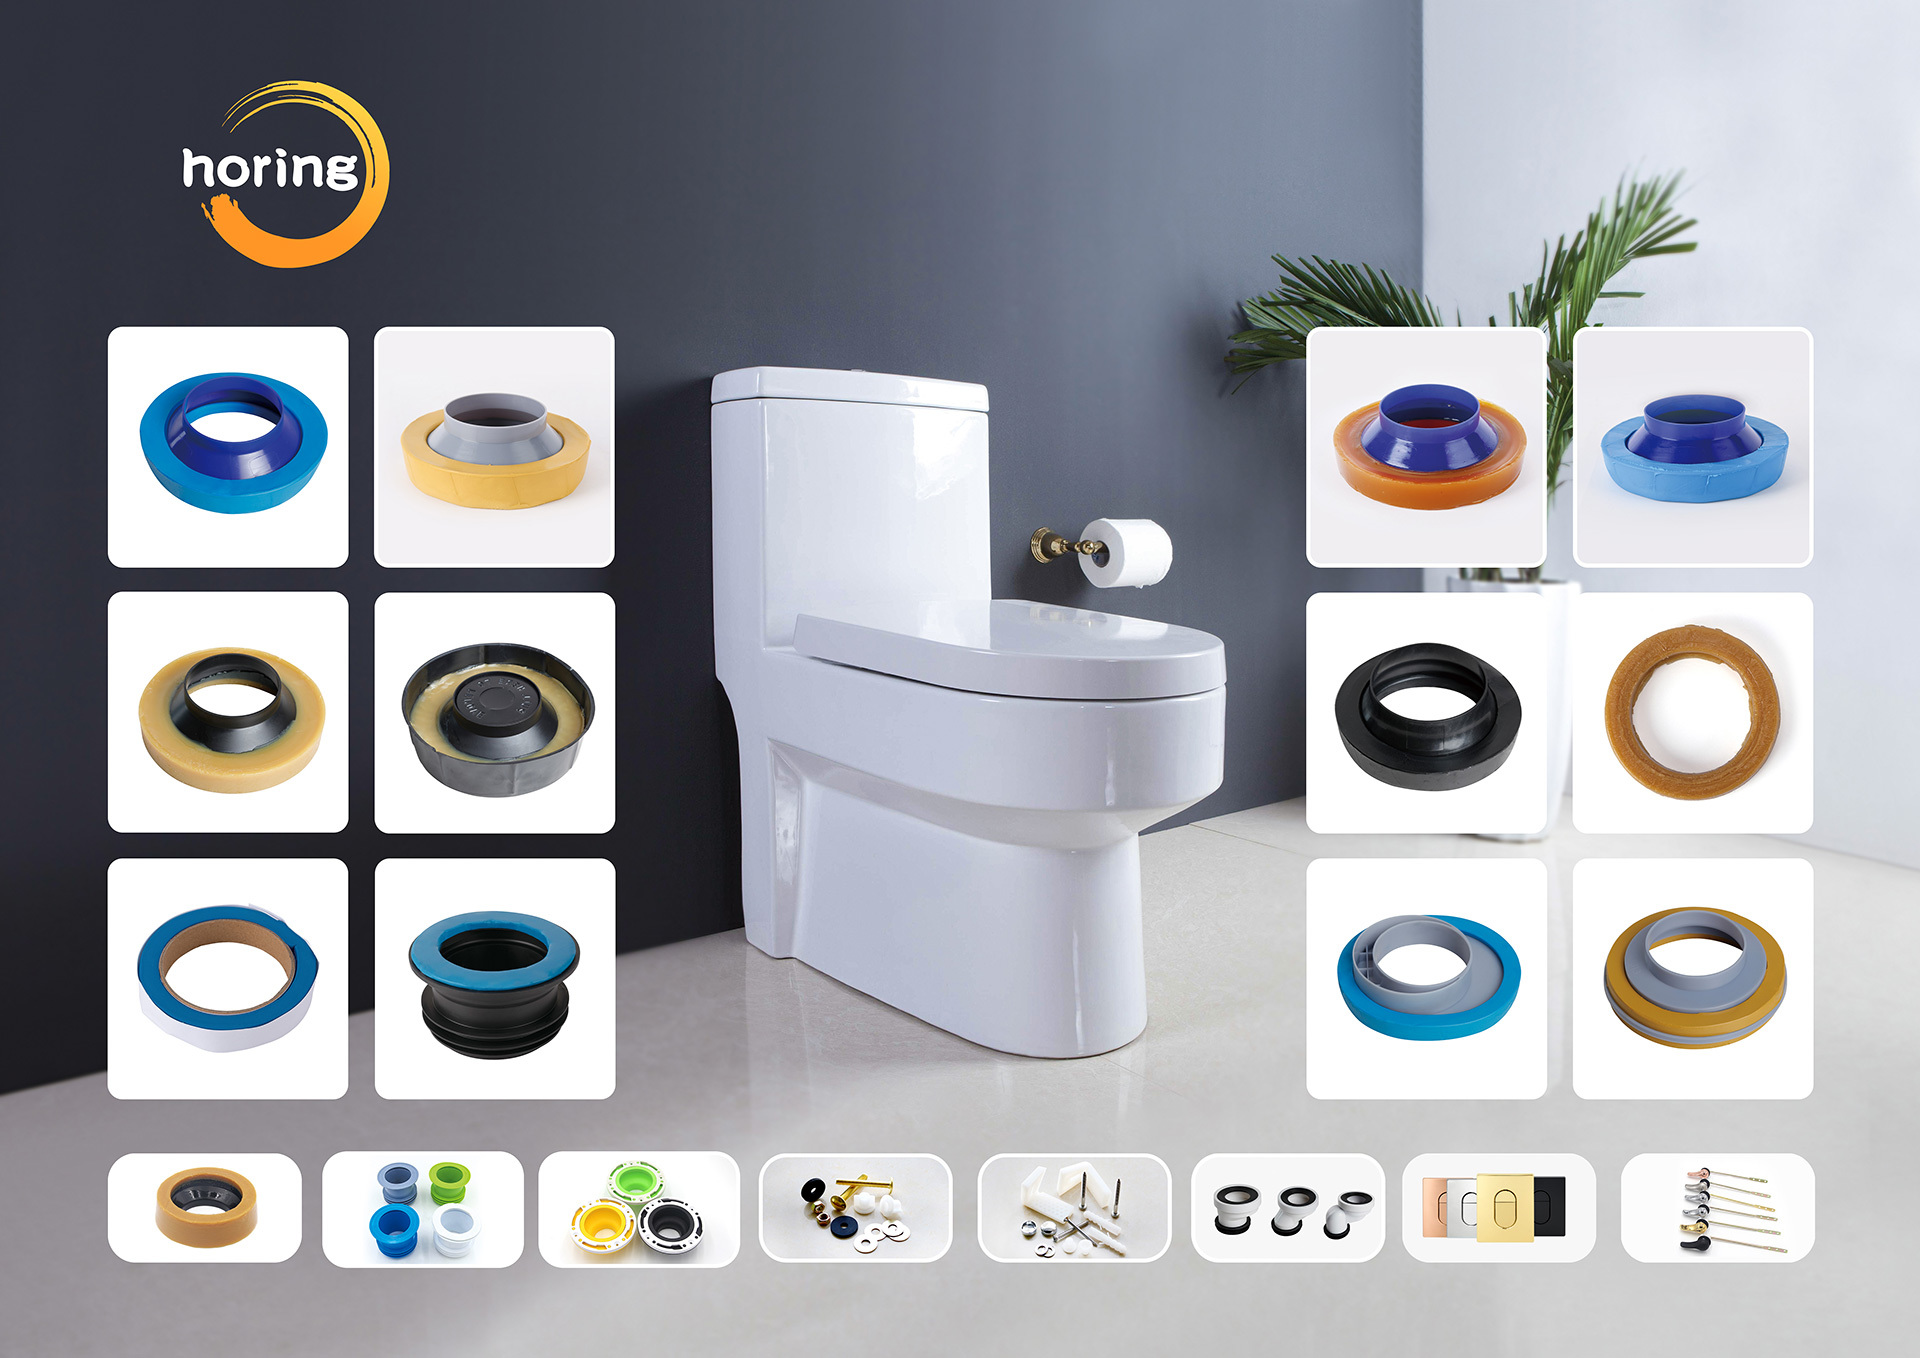

The Ultimate Guide to Choosing an OEM Toilet Bowl Gasket Kit: Ensure a Perfect Seal for Your Bathroom
Release Time:
Apr 15,2025
Source:
When it comes to maintaining the functionality of your bathroom, selecting the right components is crucial. One of the often-overlooked elements is the toilet bowl gasket kit. This unassuming component plays a pivotal role in ensuring that your toilet functions correctly without leaks. A quality OEM (Original Equipment Manufacturer) gasket kit not only provides a secure seal but also enhances the durability of your toilet installation. This guide aims to walk you through every aspect of choosing the right gasket kit, from understanding what OEM means to installation and maintenance tips.
An OEM toilet bowl gasket kit consists of a rubber or foam gasket designed to create a watertight seal between the toilet base and the bowl. OEM kits are produced by the original manufacturers of the toilet, ensuring that they meet specific standards for quality and compatibility. Unlike aftermarket options, which may vary in quality and fit, OEM kits provide reliability and peace of mind. When you choose an OEM gasket kit, you can be confident that it has been engineered to work seamlessly with your toilet model.
3. Benefits of Choosing OEM Gasket Kits
Choosing an OEM toilet bowl gasket kit comes with numerous advantages:
3.1 Quality Assurance
OEM kits are manufactured under strict quality control standards, ensuring that every component meets the manufacturer’s specifications.
3.2 Perfect Fit
Since OEM kits are designed specifically for certain models, they guarantee a precise fit, minimizing the risk of leaks.
3.3 Durability
Made from high-quality materials, OEM gaskets are built to withstand wear and tear, providing a longer service life compared to aftermarket options.
3.4 Warranty Protection
Many OEM gasket kits come with warranties, giving you extra protection in case of defects or issues with the product.
4. Key Features to Look for in a Toilet Bowl Gasket Kit
When selecting an OEM toilet bowl gasket kit, consider the following key features:
4.1 Material Composition
Look for kits made from rubber or silicone, as these materials offer superior flexibility and resistance to moisture.
4.2 Thickness
A thicker gasket can provide a better seal, which is essential for preventing leaks. Opt for kits that specify thickness in their descriptions.
4.3 Included Components
Make sure the kit includes all necessary components such as bolts, washers, and nuts to ensure a complete installation process.
4.4 Brand Reputation
Research the manufacturers of the gasket kits. Established brands with positive reviews are generally more reliable.
5. Ensuring Compatibility with Your Toilet Model
One of the most critical aspects of choosing a gasket kit is ensuring compatibility with your toilet model. Here’s how to check:
5.1 Consult the User Manual
Your toilet's user manual typically contains specifications and recommendations for replacement parts, including gasket kits.
5.2 Measure Existing Gasket
If you don't have access to the manual, carefully measure the existing gasket's diameter and thickness for comparison.
5.3 Online Resources
Many manufacturers provide online databases or customer service support to help you find the right gasket kit for your toilet.
6. Installation Process: Step-by-Step Guide
Installing a toilet bowl gasket kit may seem daunting, but with the right tools and instructions, you can complete the task efficiently. Here's a step-by-step guide:
6.1 Gather Necessary Tools
You’ll need a wrench, a screwdriver, a towel, and a flathead or putty knife.
6.2 Turn Off the Water Supply
Before you start, turn off the water supply to the toilet to prevent any leaks.
6.3 Drain the Toilet Tank
Flush the toilet to drain as much water as possible from the tank and bowl.
6.4 Remove the Toilet Bowl
Using the wrench, remove the nuts securing the toilet bowl to the floor. Carefully lift the bowl off the flange.
6.5 Replace the Gasket
Remove the old gasket and clean the area thoroughly. Place the new gasket onto the flange, ensuring it's centered and securely in place.
6.6 Reinstall the Toilet Bowl
Carefully lower the toilet bowl back onto the flange, aligning it with the bolts. Secure it with the nuts, but do not over-tighten.
6.7 Reconnect the Water Supply
Turn the water supply back on and check for leaks around the gasket and bolts.
7. Maintenance Tips for Longevity
Proper maintenance can extend the life of your toilet bowl gasket and prevent leaks. Consider the following tips:
7.1 Regular Inspection
Periodically check for signs of wear or damage to the gasket. Look for leaks or water stains around the base of the toilet.
7.2 Clean Carefully
When cleaning your bathroom, avoid harsh chemicals that might degrade the gasket material. Use mild soap and water for cleaning.
7.3 Replace When Necessary
If you notice any leaks or if the gasket shows signs of deterioration, replace it immediately to prevent further damage.
Choosing the right OEM toilet bowl gasket kit is vital for ensuring the seamless operation of your toilet. By understanding the importance of quality, compatibility, and proper installation, you can make informed decisions that enhance the longevity of your bathroom fixtures. Regular maintenance and timely upgrades will keep your toilet functioning optimally, ensuring a comfortable and dry restroom environment. By following the guidelines set forth in this ultimate guide, you can rest assured that you’ll select the best gasket kit for your needs, minimizing leaks and maximizing efficiency.
Related News
Social Media

Contact Information
Add: No.28, Xinyuan Road, Jimei District, Xiamen, Fujian Province, China
Tel: 15960289358 (David)
Tel: 15980991191 (Bruce)
Email: Monica@horing-sanitary.com (Monica Lin)
Email: sales@horing-sanitary.com (David)
Email: sales1@horing-sanitary.com (Bruce)
All Rights Reserved © 2024 Xiamen Horing Sanitary Co.,Ltd .