
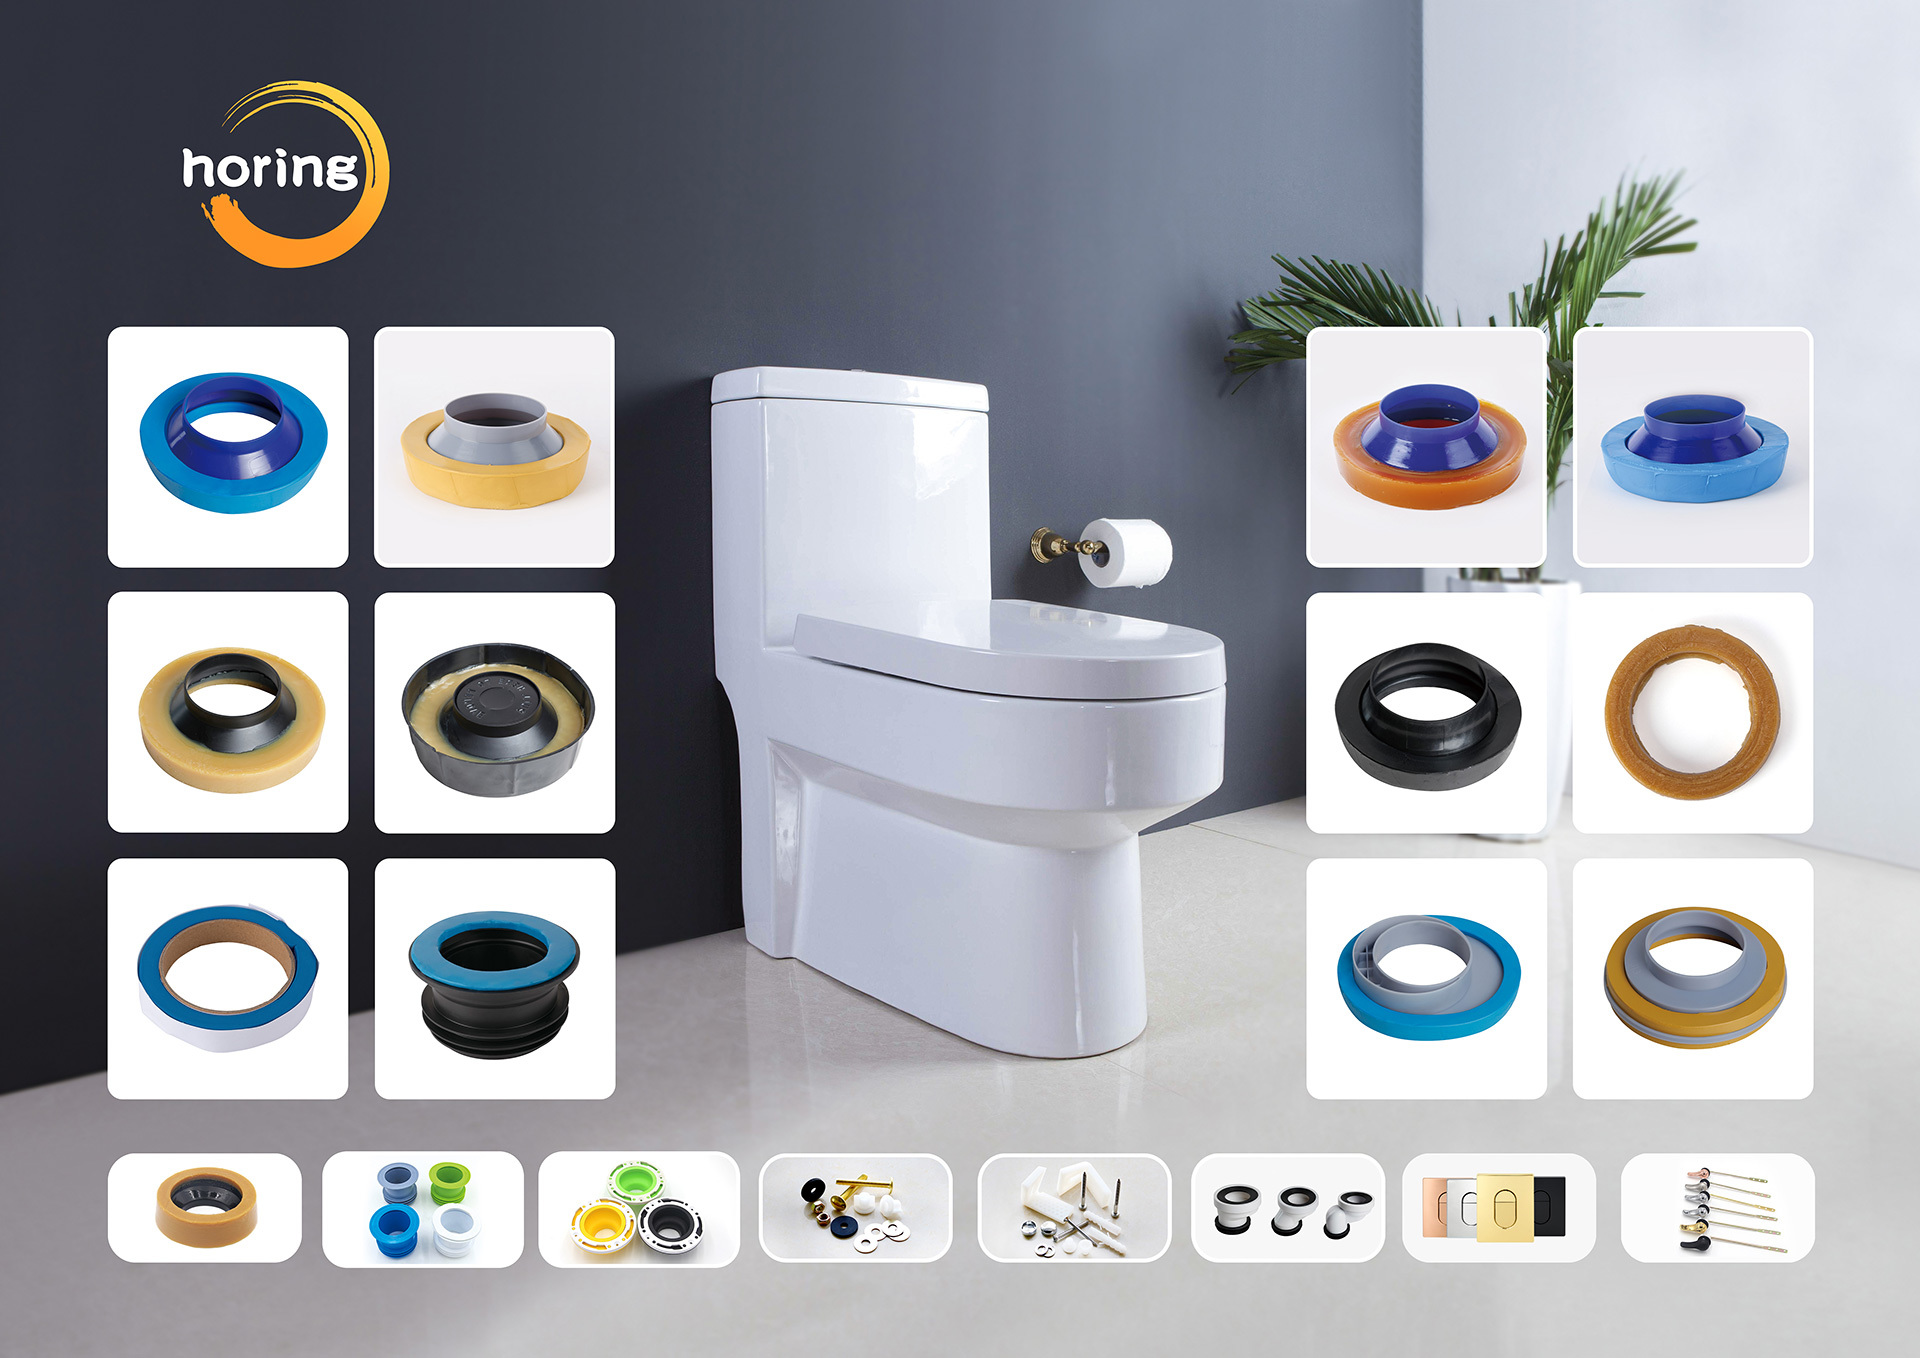

How to Install an OEM Toilet Wax Ring Seal Like a Pro: A Comprehensive Step-by-Step Guide
Release Time:
Apr 01,2025
Source:
How to Install an OEM Toilet Wax Ring Seal Like a Pro
Installing an OEM toilet wax ring seal is a crucial step in ensuring that your toilet functions properly and remains leak-free. This guide will walk you through the process, providing you with expert tips and techniques to make the installation straightforward and efficient. By the end of this article, you will have all the knowledge you need to install the wax ring like a professional.
Table of Contents
- 1. Understanding Wax Rings: What They Are and Why They Matter
- 2. Tools Required for Installing a Toilet Wax Ring
- 3. Choosing the Right OEM Wax Ring Seal for Your Toilet
- 4. Preparing for Installation: A Step-by-Step Approach
- 5. Removing the Old Toilet Wax Ring
- 6. Installing the New OEM Toilet Wax Ring Seal
- 7. Reinstalling the Toilet: Tips for a Secure Fit
- 8. Testing for Leaks: Ensuring a Proper Seal
- 9. Common Issues and Solutions When Installing a Wax Ring
- 10. Frequently Asked Questions
1. Understanding Wax Rings: What They Are and Why They Matter
The wax ring is a critical component of your toilet's plumbing system. It serves as a seal between the base of the toilet and the flange on the floor, preventing leaks and odors from escaping. Understanding the function of the wax ring can help you appreciate its importance in maintaining a sanitary and functional bathroom environment.
What is an OEM Wax Ring Seal?
An OEM (Original Equipment Manufacturer) wax ring seal is designed specifically for compatibility with certain toilet models. These seals are engineered to provide a reliable barrier against leaks, ensuring that your toilet operates efficiently. Choosing an OEM wax ring ensures that you are getting a product that meets the standards of quality and performance set by the toilet manufacturer.
2. Tools Required for Installing a Toilet Wax Ring
Before you begin your installation, it’s crucial to gather the necessary tools. Here’s a list of items you will need:
- Pliers: For removing bolts and securing connections.
- Socket Wrench: To loosen and tighten the toilet bolts.
- Putty Knife: To scrape off the old wax ring.
- Level: To ensure the toilet is installed evenly.
- Old Towels: For cleaning up any spills.
- Gloves: To maintain hygiene during the installation.
3. Choosing the Right OEM Wax Ring Seal for Your Toilet
Selecting the correct wax ring is essential for a successful installation. There are various types of wax rings available, including those with and without a flange. To choose the right one, consider the following:
Type of Toilet
Different toilet models may have specific requirements for wax rings. Always check your toilet's specifications to ensure compatibility.
Height of the Flange
If the flange is above the floor level, a thicker wax ring may be necessary. Conversely, a standard wax ring will suffice if the flange is flush with the floor.
Additional Features
Some wax rings come with extra features, such as a water barrier or a built-in flange. These can provide added protection against leaks and improve the installation process.
4. Preparing for Installation: A Step-by-Step Approach
Preparation is key to a successful wax ring installation. Here’s how to prepare your workspace:
Step 1: Gather Your Tools
Before starting, ensure you have all your tools and materials within easy reach. This saves time and prevents frustration during the installation process.
Step 2: Turn Off the Water Supply
Locate the shut-off valve behind the toilet and turn it clockwise to stop the water supply. This step is crucial to avoid any leaks during the installation.
Step 3: Empty the Toilet Tank
Flush the toilet to empty the tank. Use a sponge or towel to soak up any remaining water in the tank and bowl.
Step 4: Disconnect the Water Supply Line
Using pliers, carefully disconnect the water supply line from the bottom of the tank. Be prepared for residual water that may spill out during this process.
5. Removing the Old Toilet Wax Ring
Once your toilet is prepared, it’s time to remove the old wax ring. Follow these steps for a smooth process:
Step 1: Remove the Toilet Bolts
Using a socket wrench, remove the nuts from the toilet bolts located at the base of the toilet. Be gentle, as excessive force can damage the toilet or the flange.
Step 2: Lift the Toilet
With the bolts removed, gently rock the toilet back and forth to break the seal of the old wax ring. Carefully lift the toilet straight up and set it aside on a soft surface to prevent damage.
Step 3: Scrape Off the Old Wax Ring
Using a putty knife, scrape away the remnants of the old wax ring from the flange and the bottom of the toilet. Ensure the surface is clean for optimal sealing with the new ring.
6. Installing the New OEM Toilet Wax Ring Seal
Now that you have removed the old wax ring, you can install the new one.
Step 1: Position the Wax Ring
Place the new wax ring on the flange, ensuring it is centered. If your wax ring has a flange, it should sit snugly against the flange for a tight seal.
Step 2: Align the Toilet
Carefully lower the toilet onto the wax ring, aligning the bolts with the holes in the base of the toilet. Press down firmly to compress the wax ring and create a seal.
Step 3: Secure the Toilet
Once aligned, replace the nuts on the bolts and tighten them gently. Avoid overtightening, as this can crack the toilet base. Use a level to ensure the toilet is even.
7. Reinstalling the Toilet: Tips for a Secure Fit
With the wax ring in place and the toilet secured, it’s time to reconnect everything.
Step 1: Reconnect the Water Supply Line
Reattach the water supply line to the tank and use pliers to tighten it securely. Be cautious not to overtighten, as this can damage the connection.
Step 2: Turn On the Water Supply
Turn on the water supply by opening the shut-off valve. Allow the tank to fill and check for any leaks around the connections.
Step 3: Test the Toilet
Once the tank is full, flush the toilet to test its functionality. Observe for any leaks or irregularities in the flushing process.
8. Testing for Leaks: Ensuring a Proper Seal
After installation, ensuring that there are no leaks is crucial for maintaining your bathroom’s integrity.
Step 1: Inspect the Base
Check the base of the toilet for any signs of water pooling. If you notice any leaks, you may need to tighten the bolts further or recheck the wax ring installation.
Step 2: Monitor for Odors
Additionally, keep an eye out for any unusual odors. A properly sealed wax ring should prevent any foul smells from escaping.
9. Common Issues and Solutions When Installing a Wax Ring
Even experienced DIYers can encounter issues during installation. Here are some common problems and their solutions:
Issue 1: Toilet Wobbling
If your toilet wobbles, it may not be properly aligned on the wax ring. Ensure the toilet is level and re-tighten the bolts as necessary.
Issue 2: Leaking Water
Persistent leaks may indicate that the wax ring wasn’t compressed enough or that it’s the wrong size. In such cases, remove the toilet and re-install with a new wax ring.
Issue 3: Odors
Odors can signify a poor seal. Reseal the wax ring and ensure it’s properly placed on the flange to eliminate any gaps.
10. Frequently Asked Questions
1. How long does a wax ring last?
A wax ring can last anywhere from 20 to 30 years, but it may need replacement if you notice leaks or odors.
2. Can I reuse an old wax ring?
It’s not recommended to reuse old wax rings, as they can become compressed and lose their sealing capabilities.
3. How do I know if I need a new wax ring?
Signs that you may need a new wax ring include water pooling around the base of the toilet, unpleasant odors, or a wobbly toilet.
4. Is it difficult to install a wax ring?
With the right tools and instructions, installing a wax ring can be a manageable DIY project for most homeowners.
5. Can I install a wax ring without professional help?
Yes, many homeowners successfully install wax rings themselves. Following a detailed guide will help ensure proper installation.
Conclusion
Installing an OEM toilet wax ring seal is a vital task that can prevent leaks and maintain a clean and functional bathroom. By following this detailed guide, we hope you feel equipped to tackle the installation confidently. Remember to choose the correct wax ring, prepare your workspace, and follow the steps carefully. With patience and the right tools, you can install the wax ring like a pro. Enjoy the peace of mind that comes with a job well done!
Related News
Social Media

Contact Information
Add: No.28, Xinyuan Road, Jimei District, Xiamen, Fujian Province, China
Tel: 15960289358 (David)
Tel: 15980991191 (Bruce)
Email: Monica@horing-sanitary.com (Monica Lin)
Email: sales@horing-sanitary.com (David)
Email: sales1@horing-sanitary.com (Bruce)
All Rights Reserved © 2024 Xiamen Horing Sanitary Co.,Ltd .