
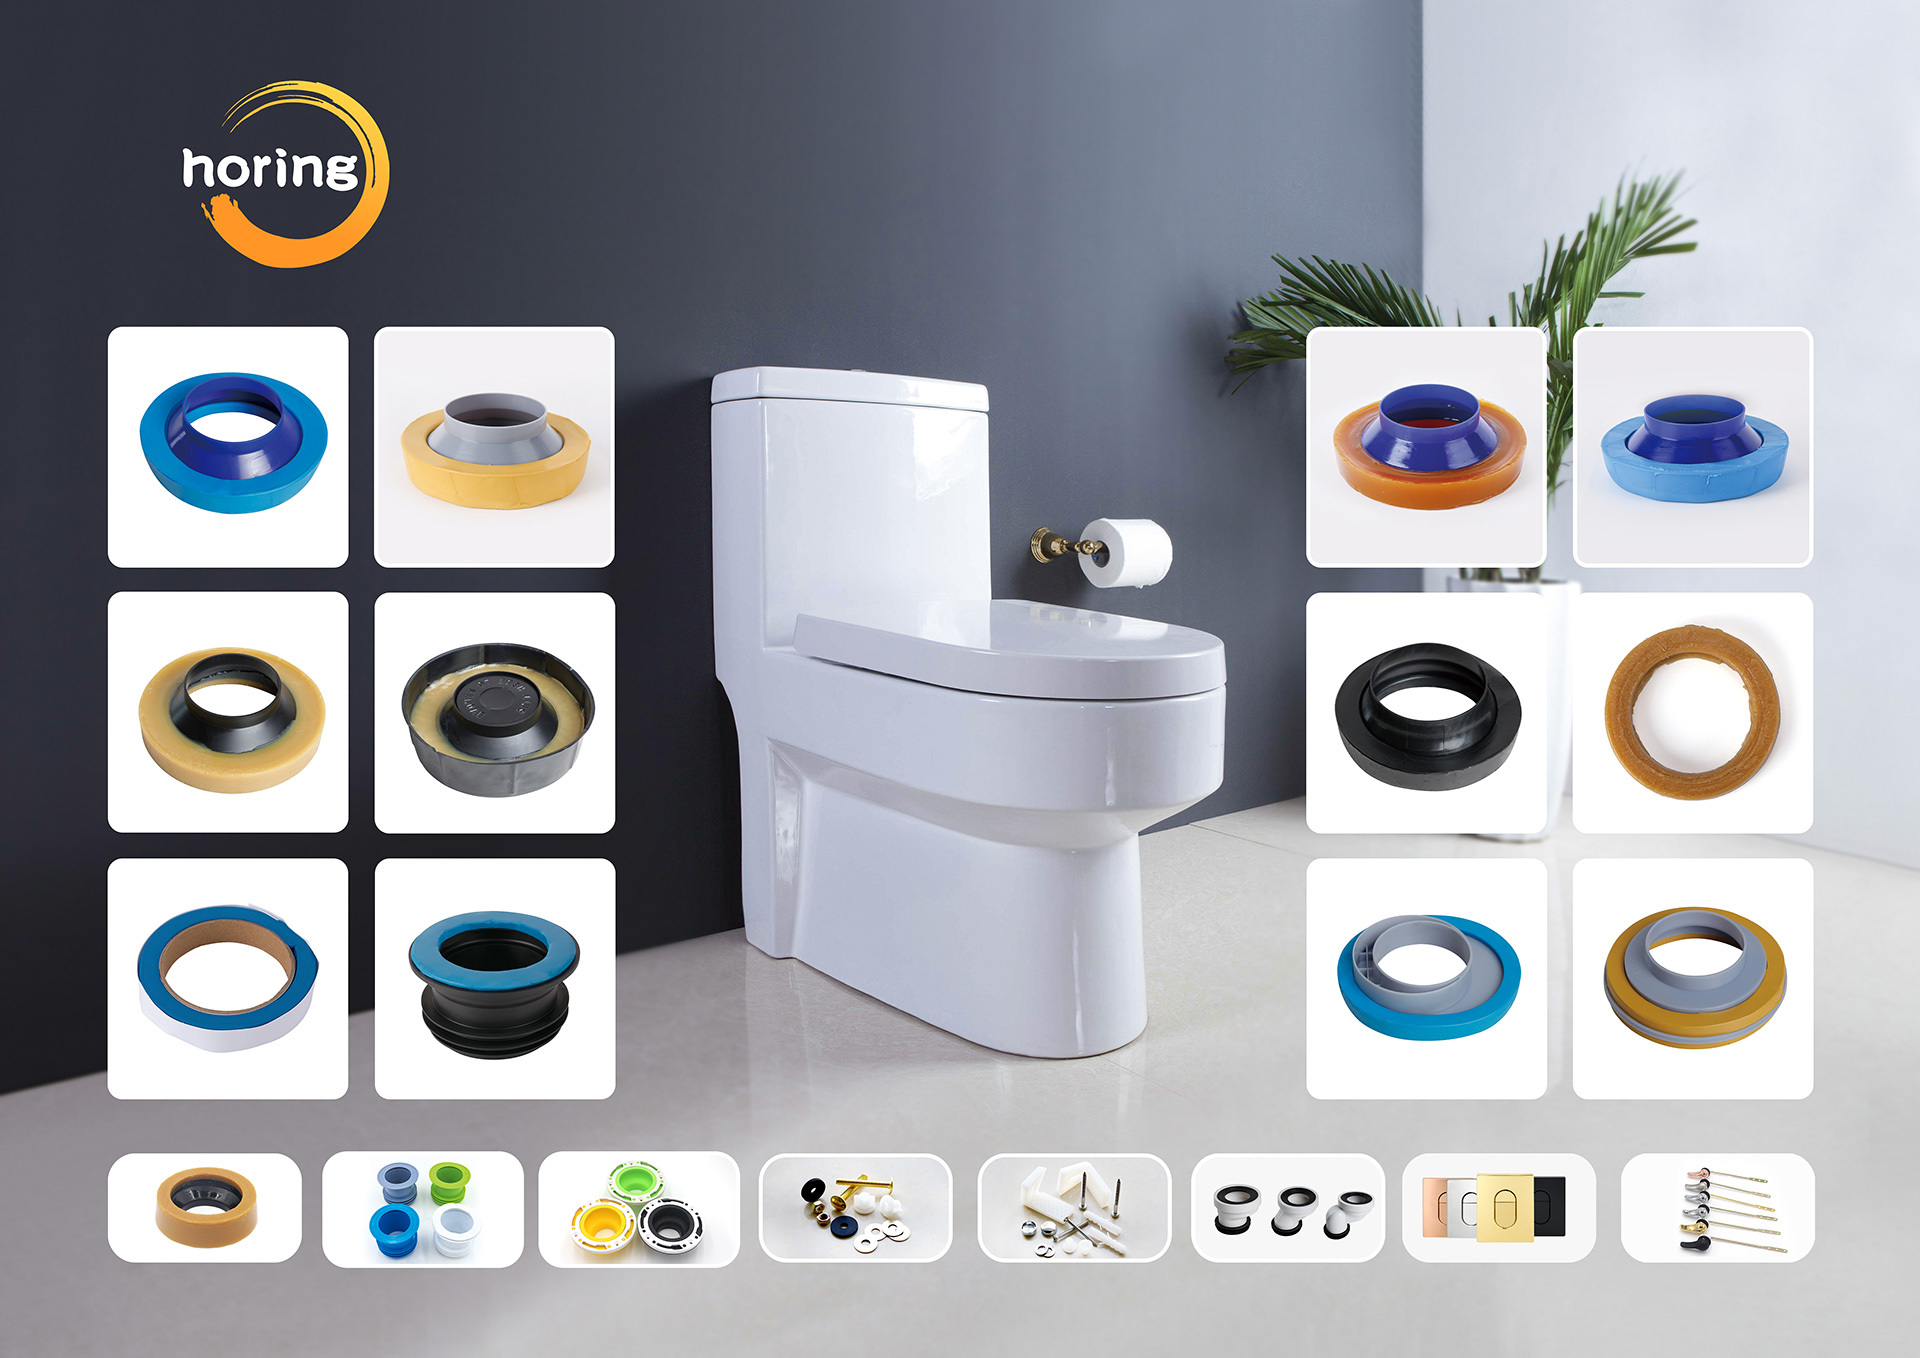

Understanding the Critical Role of Toilet Tank Rubber Gaskets in Plumbing Systems
Release Time:
Feb 16,2025
Source:
Understanding the Critical Role of Toilet Tank Rubber Gaskets in Plumbing Systems
Table of Contents
- Introduction to Toilet Tank Rubber Gaskets
- The Function of Toilet Tank Rubber Gaskets
- Types of Toilet Tank Rubber Gaskets
- How to Install Toilet Tank Rubber Gaskets
- Maintaining Your Toilet Tank Rubber Gaskets
- Common Issues Related to Toilet Tank Rubber Gaskets
- Upgrading to High-Quality Gaskets
- Conclusion
- Frequently Asked Questions
Introduction to Toilet Tank Rubber Gaskets
In the intricate world of plumbing, the **toilet tank rubber gasket** plays a significant role that often goes unnoticed. This seemingly simple component is a critical player in ensuring that your toilet operates seamlessly. The gasket forms a watertight seal between the toilet tank and the bowl, preventing leaks that could lead to extensive water damage and costly repairs. Understanding the importance of this component is essential for homeowners and plumbing professionals alike.
In this article, we will delve into the specifics of toilet tank rubber gaskets, exploring their functions, types, installation processes, maintenance practices, and common issues. Our goal is to provide you with a comprehensive understanding of these essential components to enhance your plumbing system's reliability and efficiency.
The Function of Toilet Tank Rubber Gaskets
Toilet tank rubber gaskets serve several crucial functions:
1. Leak Prevention
The primary function of a rubber gasket is to create a **watertight seal**. Without this seal, water can leak from the tank to the bowl or even onto the floor, leading to potential water damage. This is particularly critical in maintaining the integrity of your plumbing system and avoiding costly repairs.
2. Stabilizing the Toilet
Gaskets also play a role in stabilizing the toilet tank on the bowl. A well-installed gasket ensures that the tank is securely fastened, providing stability and preventing it from shifting during use.
3. Noise Reduction
Rubber gaskets can help in dampening noise during the flushing process. By absorbing vibrations, they ensure a quieter operation, contributing to a more pleasant bathroom experience.
4. Insulation
Rubber gaskets can act as insulators, preventing condensation from forming on the outside of the tank. This is especially beneficial in environments with significant temperature fluctuations, as it can reduce the risk of mold and mildew development.
Types of Toilet Tank Rubber Gaskets
Understanding the different types of toilet tank rubber gaskets available is essential for selecting the right one for your specific needs.
1. Standard Gaskets
Standard rubber gaskets are typically made from neoprene or other types of rubber. They provide a basic level of sealing capability and are sufficient for most residential applications.
2. Reinforced Gaskets
For areas with high water pressure or significant temperature fluctuations, **reinforced gaskets** made from advanced materials may be necessary. These gaskets offer enhanced durability and resistance to wear and tear.
3. Universal Gaskets
Universal gaskets are designed to fit various toilet models, making them a versatile choice for homeowners with multiple toilets. They offer a convenient solution without needing to purchase specific gaskets for each toilet.
4. Specialty Gaskets
Some toilets may require specialty gaskets designed for unique shapes or configurations. These gaskets can be found in high-performance toilets or specialized plumbing systems.
How to Install Toilet Tank Rubber Gaskets
Installing a toilet tank rubber gasket may seem daunting, but it can be a straightforward process if done correctly. Here’s a step-by-step guide:
1. Gather Your Tools
Before starting, ensure you have the following tools:
- A wrench
- A screwdriver
- A bucket
- A sponge or rag
2. Turn Off the Water Supply
Begin by turning off the water supply to the toilet. This can usually be done by turning the shut-off valve located behind the toilet.
3. Remove the Toilet Tank
Detach the toilet tank from the bowl by unscrewing the bolts that hold it in place. Carefully lift the tank and set it aside on a flat surface.
4. Inspect and Clean the Area
Examine the area where the gasket will sit for any signs of damage or debris. Clean the surfaces thoroughly to ensure a good seal.
5. Install the New Gasket
Position the new rubber gasket on the base of the toilet tank. Ensure it is centered and properly aligned. Reattach the tank to the bowl, making sure not to overtighten the bolts, as this can damage the gasket.
6. Reconnect Water Supply
Once the tank is securely in place, turn the water supply back on. Allow the tank to fill, and then check for any leaks.
7. Test the Toilet
Finally, flush the toilet to ensure everything is functioning correctly and that there are no leaks around the gasket.
Maintaining Your Toilet Tank Rubber Gaskets
Regular maintenance of your toilet tank rubber gaskets is essential to prevent issues and extend their lifespan. Here are some maintenance tips:
1. Periodic Inspections
Every few months, inspect the toilet tank and gasket for signs of wear, cracking, or leaks. Addressing issues early can prevent more significant problems down the road.
2. Cleaning
Keep the area around the gasket clean and free of debris. A buildup of dirt or grime can compromise the seal and lead to leaks.
3. Replace When Necessary
If you notice any signs of wear or leaks, replace the gasket immediately. Over time, rubber components can degrade, losing their sealing capabilities.
Common Issues Related to Toilet Tank Rubber Gaskets
Despite their durability, toilet tank rubber gaskets can encounter several common issues:
1. Leaks
One of the most prevalent issues is leaking. This can occur due to improper installation, wear and tear, or using a low-quality gasket. Regular inspections are crucial to catch leaks early.
2. Cracking
Rubber gaskets can crack over time due to exposure to harsh chemicals or extreme temperatures. Regular maintenance can help identify and address these cracks before they lead to leaks.
3. Warping
In areas with high humidity or temperature fluctuations, gaskets may warp, compromising their sealing ability. Using high-quality, reinforced gaskets can mitigate this issue.
Upgrading to High-Quality Gaskets
Investing in high-quality toilet tank rubber gaskets can save you time and money in the long run. Premium gaskets often offer enhanced durability, resistance to chemicals, and better sealing capabilities. When selecting a gasket, consider factors such as material, compatibility with your toilet model, and longevity.
Conclusion
Understanding the importance of toilet tank rubber gaskets in plumbing systems cannot be overstated. These components are essential for preventing leaks, stabilizing the toilet tank, and ensuring optimal performance. By learning about the different types of gaskets, their installation, maintenance, and common issues, homeowners can make informed decisions that enhance the reliability of their plumbing systems.
Investing time in selecting high-quality gaskets and maintaining them will lead to a more efficient and hassle-free toilet experience, ultimately saving both water and money in the long term.
Frequently Asked Questions
1. How often should I replace my toilet tank rubber gasket?
It's recommended to replace your toilet tank rubber gasket every five years, but this can vary based on usage and water quality.
2. Can I use any gasket for my toilet?
No, it's important to use a gasket that is compatible with your specific toilet model to ensure a proper seal.
3. What are the signs of a failing gasket?
Signs of a failing gasket include water leaking from the base of the toilet tank, visible cracks or damage, and a noticeable increase in water bills.
4. How can I prevent my toilet tank rubber gasket from deteriorating?
Regularly inspecting the gasket, avoiding harsh chemicals, and maintaining proper humidity levels can help extend its lifespan.
5. Is it necessary to hire a plumber to replace a toilet tank gasket?
While it's possible to replace a gasket yourself, hiring a plumber can ensure the job is done correctly and prevent further issues.
Related News
Social Media

Contact Information
Add: No.28, Xinyuan Road, Jimei District, Xiamen, Fujian Province, China
Tel: 15960289358 (David)
Tel: 15980991191 (Bruce)
Email: Monica@horing-sanitary.com (Monica Lin)
Email: sales@horing-sanitary.com (David)
Email: sales1@horing-sanitary.com (Bruce)
All Rights Reserved © 2024 Xiamen Horing Sanitary Co.,Ltd .