
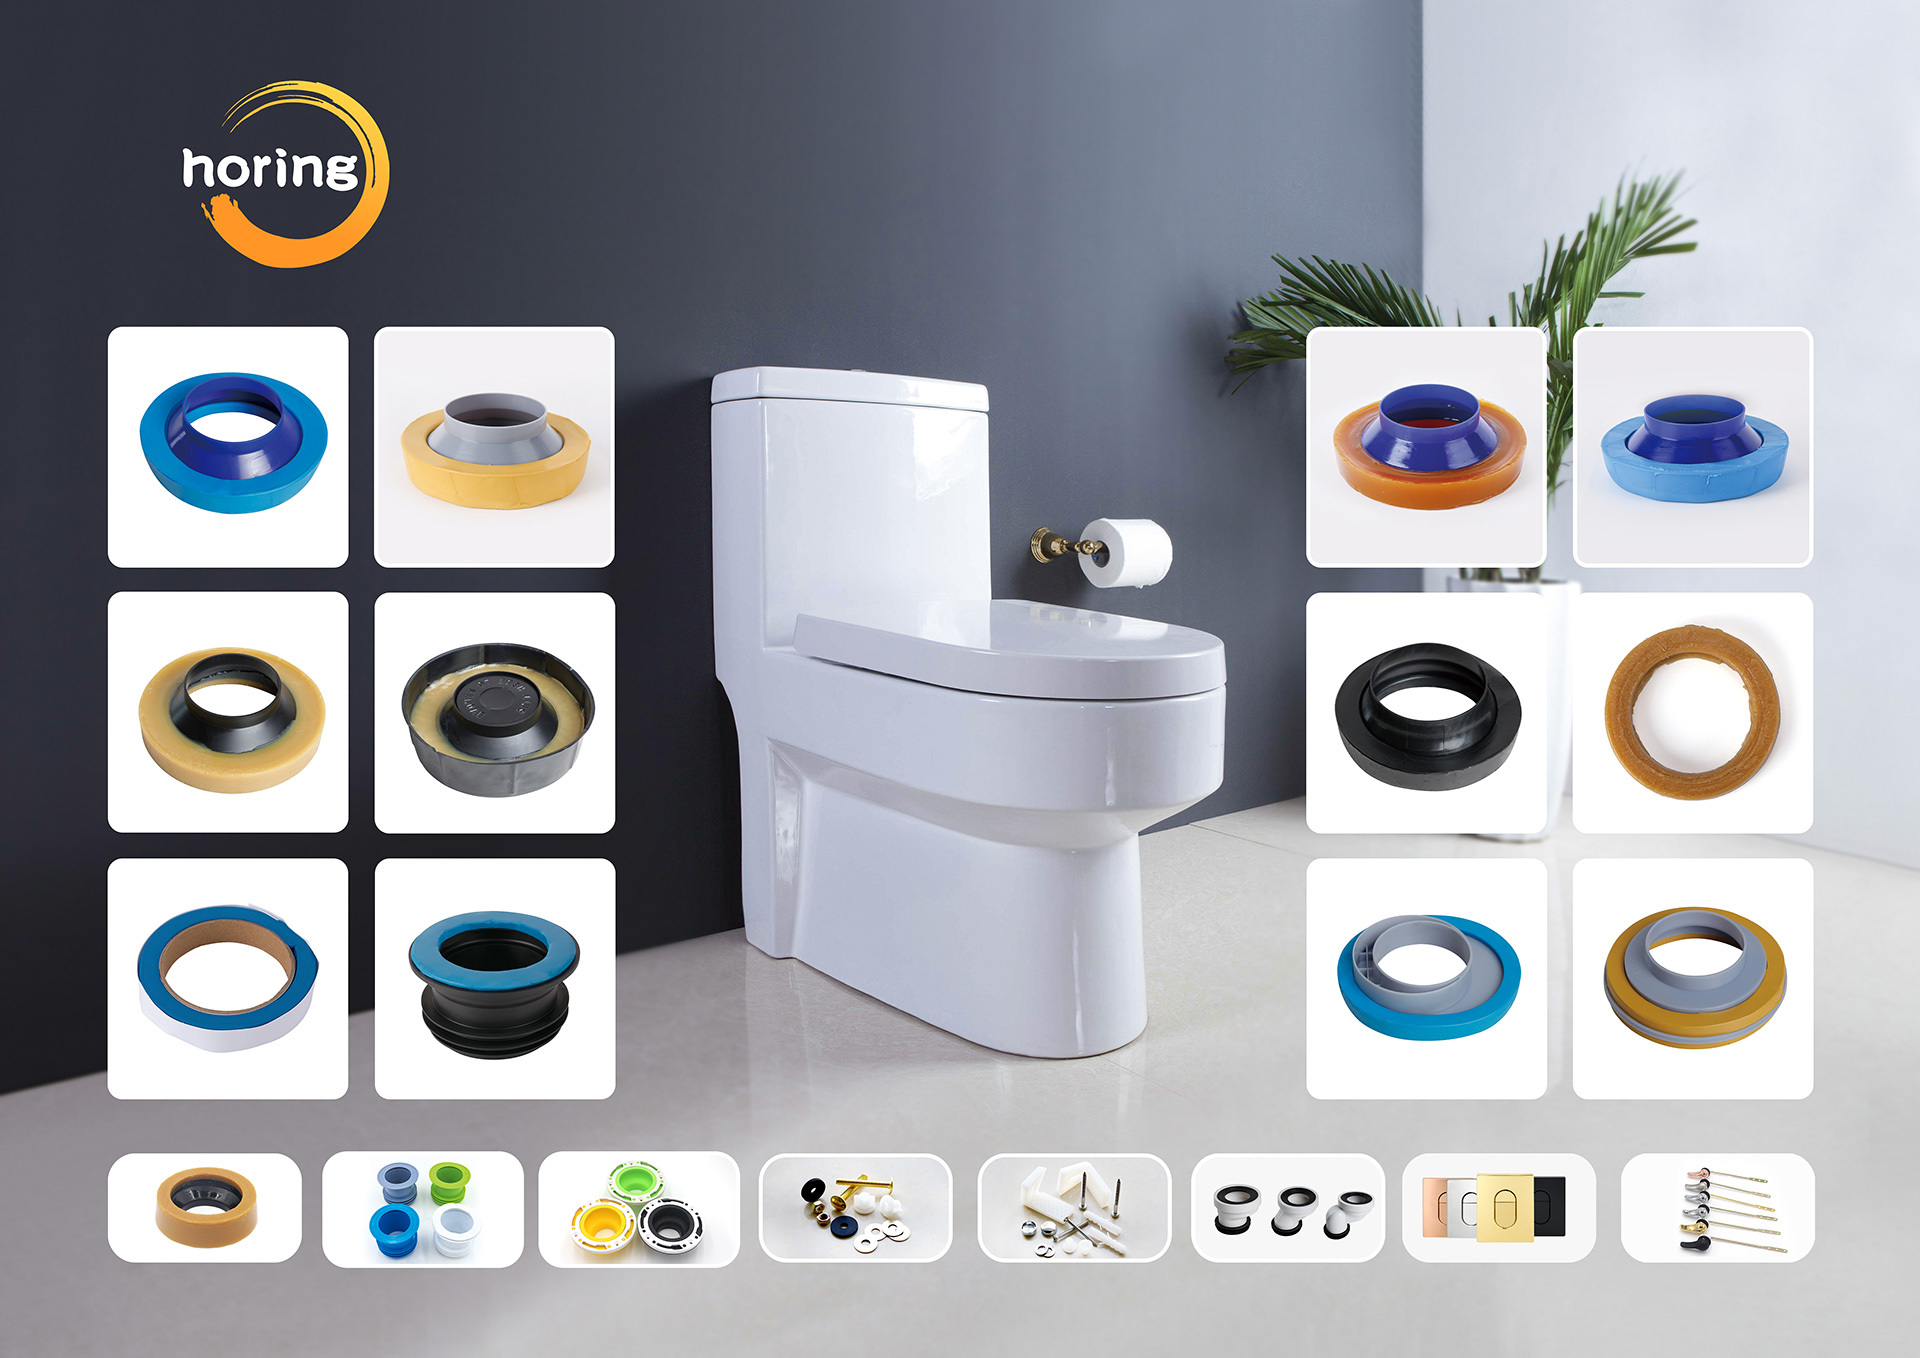

The Essential Guide to Choosing OEM Toilet Tank Rubber Gaskets for Optimal Performance
Release Time:
Dec 13,2024
Source:
The Essential Guide to Choosing OEM Toilet Tank Rubber Gaskets
Table of Contents
1. Introduction to OEM Toilet Tank Rubber Gaskets
2. Understanding the Importance of Rubber Gaskets in Toilet Tanks
3. Types of Rubber Gaskets Used in Toilet Tanks
3.1. Neoprene Gaskets
3.2. EPDM Gaskets
3.3. Silicone Rubber Gaskets
4. How to Choose the Right OEM Toilet Tank Rubber Gasket
4.1. Assessing Compatibility with Your Toilet Model
4.2. Evaluating Material Properties
4.3. Considering Environmental Factors
5. Installation Tips for OEM Toilet Tank Rubber Gaskets
5.1. Gathering Necessary Tools
5.2. Step-by-Step Installation Process
6. Common Issues and Troubleshooting with Rubber Gaskets
6.1. Leaks and Their Causes
6.2. Signs of Wear and Tear
7. Maintenance of Toilet Tank Rubber Gaskets
8. Conclusion
9. FAQs
1. Introduction to OEM Toilet Tank Rubber Gaskets
The **OEM toilet tank rubber gaskets** play a pivotal role in ensuring the proper functioning of toilet tanks. These components serve as seals, preventing leaks between the tank and the bowl, thus minimizing water wastage and maintaining the efficiency of your plumbing system. In this guide, we will explore everything you need to know about selecting and maintaining these essential components.
2. Understanding the Importance of Rubber Gaskets in Toilet Tanks
Rubber gaskets are crucial for **effective toilet operation**. They allow for a tight seal that keeps water from leaking out of the tank into the bowl or vice versa. A properly functioning gasket ensures:
- **Water Efficiency**: Prevents wasteful leaks, conserving water.
- **Cost Savings**: Reduces the need for frequent repairs and replacements.
- **Enhanced Performance**: Contributes to the overall performance of the toilet.
Choosing the right gasket can significantly impact your bathroom's efficiency and functionality.
3. Types of Rubber Gaskets Used in Toilet Tanks
There are various types of rubber gaskets available, and understanding their differences can help you make a better choice for your toilet.
3.1. Neoprene Gaskets
Neoprene gaskets are known for their durability and resistance to oil, heat, and weathering. They are ideal for environments that experience fluctuations in temperature and humidity, making them a popular choice for **residential toilets**.
3.2. EPDM Gaskets
Ethylene Propylene Diene Monomer (EPDM) gaskets are highly resistant to ozone, UV rays, and extreme weather conditions. They are perfect for outdoor installations and can be used in various plumbing applications due to their excellent sealing properties.
3.3. Silicone Rubber Gaskets
Silicone gaskets excel in high-temperature applications. They are flexible and provide a reliable seal, making them suitable for toilets subjected to varying water temperatures. Silicone gaskets are also resistant to mold and mildew, which is an added advantage in bathroom settings.
4. How to Choose the Right OEM Toilet Tank Rubber Gasket
Selecting the appropriate gasket involves considering several factors:
4.1. Assessing Compatibility with Your Toilet Model
Before purchasing a rubber gasket, it is crucial to ensure that it is compatible with your specific toilet model. Check the manufacturer's specifications or consult with a plumbing professional to find the right fit.
4.2. Evaluating Material Properties
Each type of gasket material has its own set of properties. Consider factors like resistance to chemicals, temperature tolerance, and environmental conditions to determine which material best suits your needs.
4.3. Considering Environmental Factors
The environment in which the toilet is installed can affect the gasket’s performance. For example, if your bathroom is prone to high humidity or temperature fluctuations, selecting a robust gasket material that can withstand these conditions is essential.
5. Installation Tips for OEM Toilet Tank Rubber Gaskets
Proper installation of rubber gaskets is vital for optimal performance. Here are some tips to ensure a successful installation:
5.1. Gathering Necessary Tools
Before starting the installation, gather the necessary tools:
- Adjustable wrench
- Flathead screwdriver
- Towel or rag
- Replacement gaskets
5.2. Step-by-Step Installation Process
1. **Turn off the Water Supply**: Begin by shutting off the water to the toilet to prevent any leaks during installation.
2. **Empty the Tank**: Flush the toilet to empty the tank completely.
3. **Remove the Old Gasket**: Carefully detach the old gasket from the tank and the bowl. Clean any residue left behind.
4. **Install the New Gasket**: Place the new rubber gasket in the appropriate position, ensuring it sits flat against both surfaces.
5. **Reattach the Tank**: Align and secure the tank back onto the bowl, tightening the bolts evenly.
6. **Reconnect the Water Supply**: Turn the water supply back on and check for leaks.
6. Common Issues and Troubleshooting with Rubber Gaskets
Even the best rubber gaskets can experience problems over time. Here are some common issues and how to troubleshoot them:
6.1. Leaks and Their Causes
Leaking is a common issue with toilet tanks. Some common causes include:
- Incorrect installation
- Deterioration of the gasket material
- Misalignment of the tank and bowl
To address leaks, inspect the gasket and the installation for any apparent issues and replace the gasket if necessary.
6.2. Signs of Wear and Tear
Over time, rubber gaskets can wear out. Signs include:
- Discoloration or brittleness
- Cracks or visible damage
- Persistent leaks
Regular inspections can help catch these issues early, preventing significant water damage or costly repairs.
7. Maintenance of Toilet Tank Rubber Gaskets
Maintaining your toilet tank rubber gaskets can extend their lifespan and ensure optimal performance. Here are some maintenance tips:
- **Regular Inspections**: Check for signs of wear and tear every few months.
- **Cleaning**: Clean the gasket area periodically to prevent buildup that could lead to leaks.
- **Replacements**: Don’t hesitate to replace old or damaged gaskets immediately to prevent further issues.
8. Conclusion
Choosing the right OEM toilet tank rubber gasket is essential for maintaining a functioning toilet. Understanding the different types of gaskets, their properties, and installation tips will ensure you make an informed decision. Regular maintenance and prompt replacement of worn gaskets can prevent leaks and costly plumbing issues in the long run. By following this guide, you can confidently select the perfect gasket for your needs and enjoy the peace of mind that comes with effective plumbing solutions.
9. FAQs
1. What is an OEM toilet tank rubber gasket?
An OEM toilet tank rubber gasket is a factory-manufactured sealing component designed to fit specific toilet models, preventing leaks between the tank and the bowl.
2. How often should I replace my toilet tank rubber gasket?
It is advisable to check your toilet tank gasket every few months and replace it if you notice signs of wear, discoloration, or leaks.
3. Can I use a universal gasket for my toilet?
While some universal gaskets may fit various models, it’s best to use OEM parts to ensure compatibility and prevent leaks.
4. What tools do I need to install a toilet tank rubber gasket?
You will need an adjustable wrench, a flathead screwdriver, and a towel or rag for cleaning during the installation process.
5. How can I fix a leaking toilet tank gasket?
If your toilet tank gasket is leaking, turn off the water supply, remove the tank, and inspect the gasket for damage. Replace it if necessary, following proper installation procedures.
Related News
Social Media

Contact Information
Add: No.28, Xinyuan Road, Jimei District, Xiamen, Fujian Province, China
Tel: 15960289358 (David)
Tel: 15980991191 (Bruce)
Email: Monica@horing-sanitary.com (Monica Lin)
Email: sales@horing-sanitary.com (David)
Email: sales1@horing-sanitary.com (Bruce)
All Rights Reserved © 2024 Xiamen Horing Sanitary Co.,Ltd .